
In this post I'll quickly demonstrate how to upgrade VCSA 7 to VCSA 8. Before starting any of the upgrade always remember to check product compatibility matrix and upgrade path available here.
Once all prerequisites have been verified download the vCenter Server Appliance iso file from official VMware download portal under Vmware customer connect. Then open the iso file from a location where it have access to existing vCenter environment. Open the installer EXE located at Disk:\vcsa-ui-installer\win32
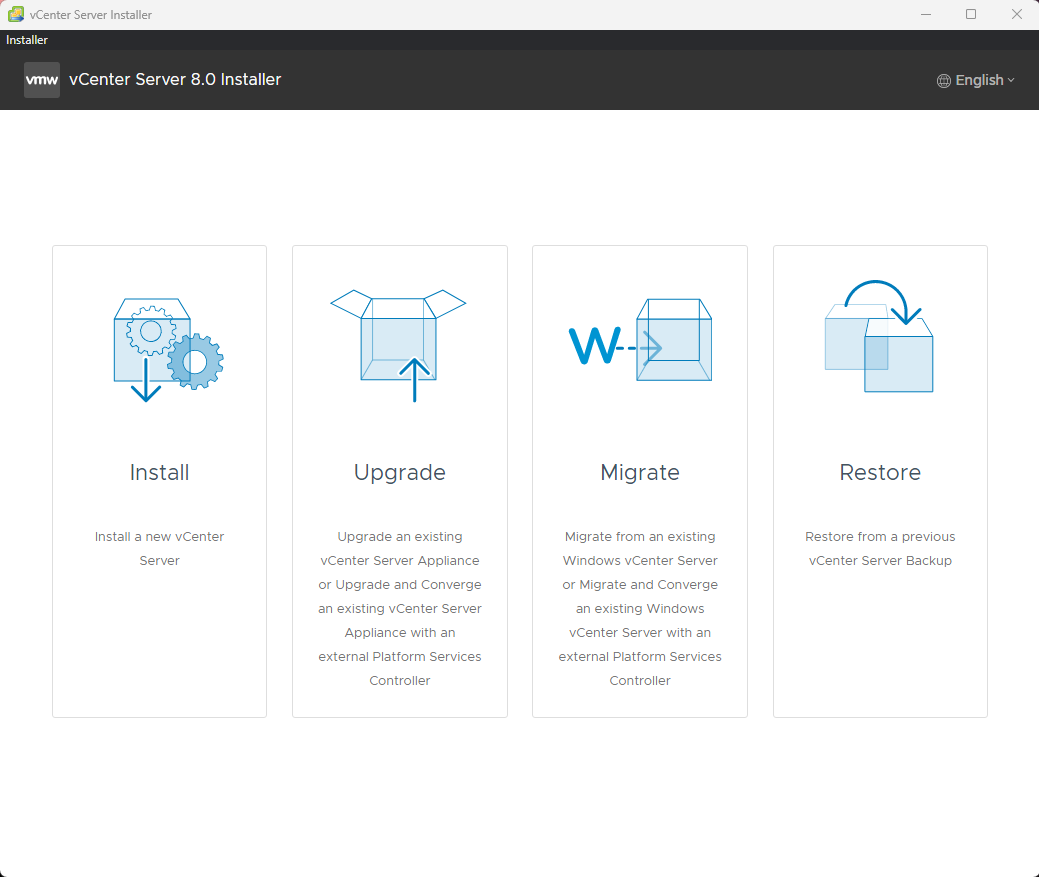
Once the installer runs select the Upgrade option available the GUI.

The first step is to deploy a new VCSA and during the stage 2 it will copy the data of your selection over to newly deployed vCenter Server Appliance.

Read carefully the EULA and accept and click next to continue.

During next step it will ask the credentials to connect to the existing VCSA and fill in the details accordingly.

Then it will ask for a source where this vCenter should be deployed. Either vCenter or ESXi details. In the next step it will ask details for the VM to be deployed and then the size of the new VCSA deployment.

Select the datastore which has enough space to deploy the VCSA.

In this step it will ask for a temporary IP address and other network related details such as default gateway and DNS settings. this IP will be use to power on the VCSA and do the post data migration and then it will automatically changed to the existing IP once the old VCSA powered off automatically.
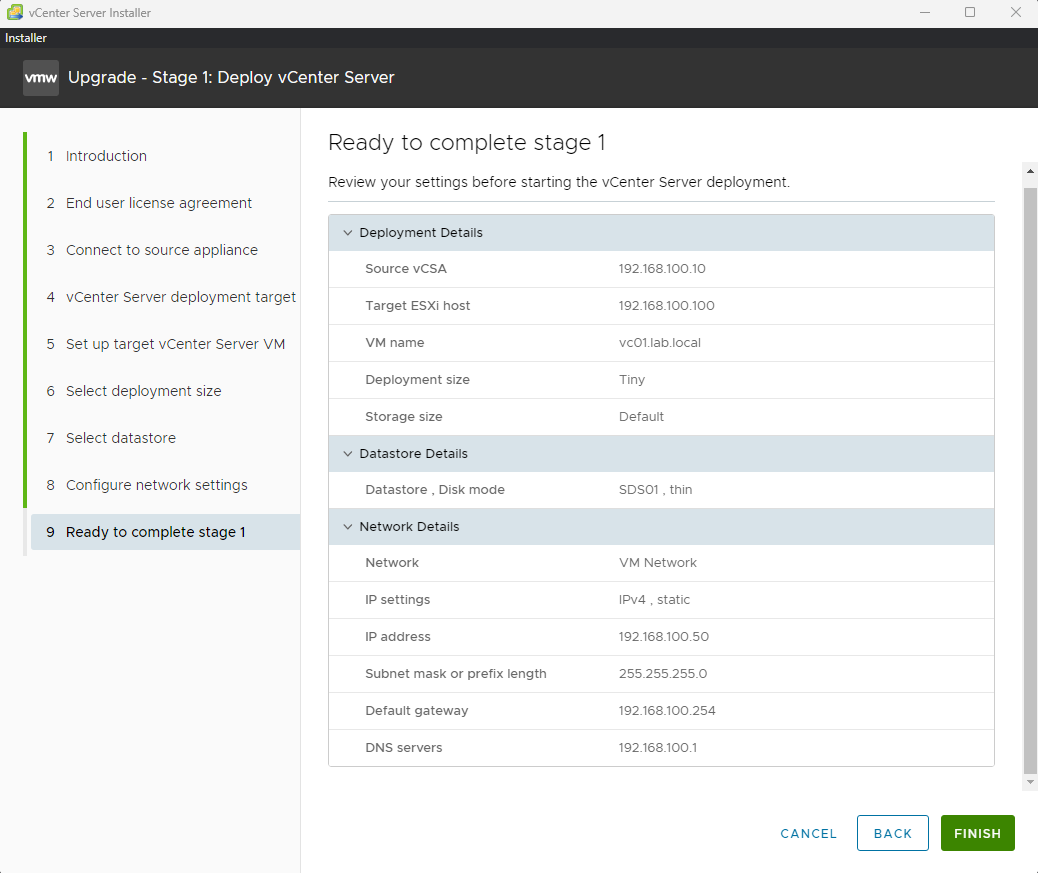
In this step summary will be displayed for the new VCSA and once click next the new VCSA will start to deploy.

Once the vCenter deployed successfully it will prompt you to continue with the stage 2.

In the stage 2 it will display the introduction page and click next.

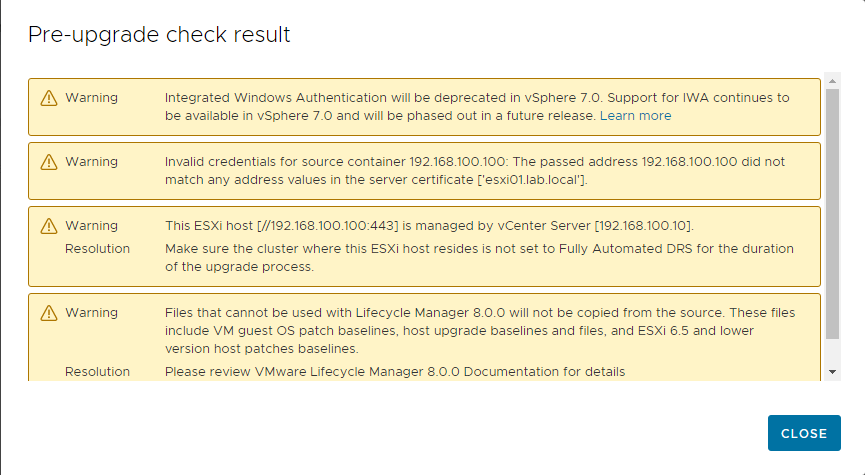
Then it will run the pre-upgrade check result and resolve any errors if there is any and if happy with the warnings continue to next step.
Then it will ask which data you wanted to copy over to the new VCSA and depend on your choices estimated downtime will be shown.

Then it will display the summary and once you clicked next all data will be copied over to new VCSA 8 appliance and you can access the vCenter using same IP and DNS settings without any changes to those.


0 Comments